Task 18
Wildcard week
In this week, I was given a task to Design and produce something with a digital fabrication process (incorporating computer-aided design and manufacturing) not covered in another assignment, documenting the requirements that your assignment meets, and including everything necessary to reproduce it.
Individual Task
- For this week, I decided to implement Sandblasting on two different Materials i.e Acrylic sheet 3 mm and Metal 3mm. For Acrylic I used the knowledge I acquired from Computer Controlled Cutting week and used that to cut a nice shape. For Metal, I decided to use Aliko Waterjet cutter, that we have in the Machine Shop at University of Oulu
SBC 420 Sandblast Cabinet
- The Sandblast Cabinet that we have in our FAB Lab is SBC 420 Sandblast Cabinet, It has the following Features:
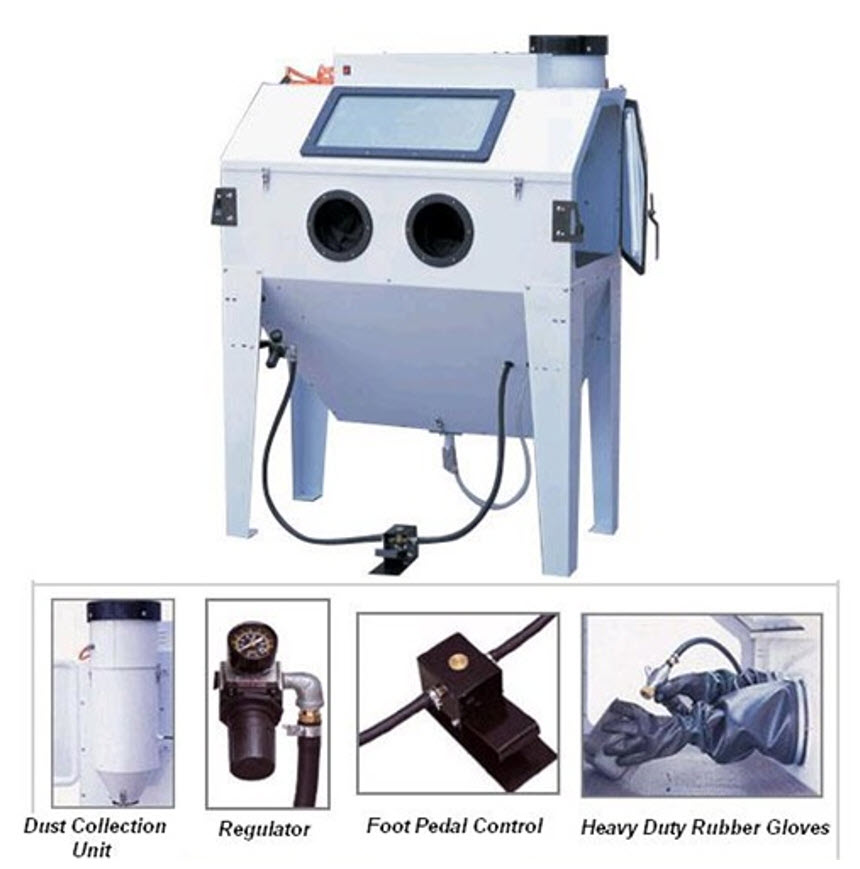
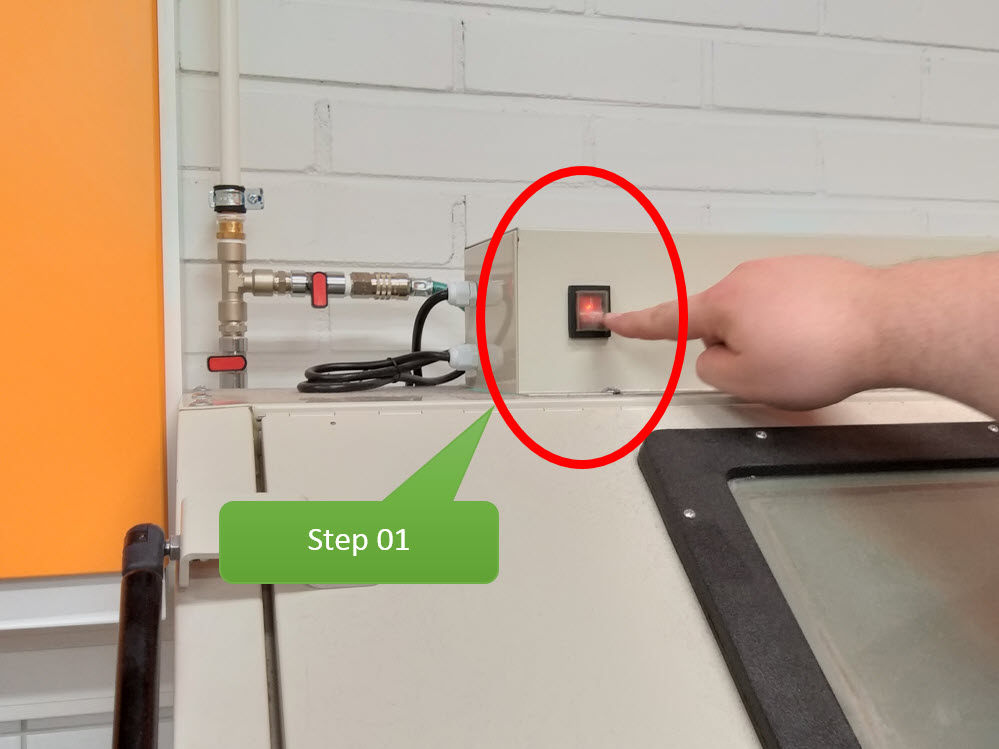
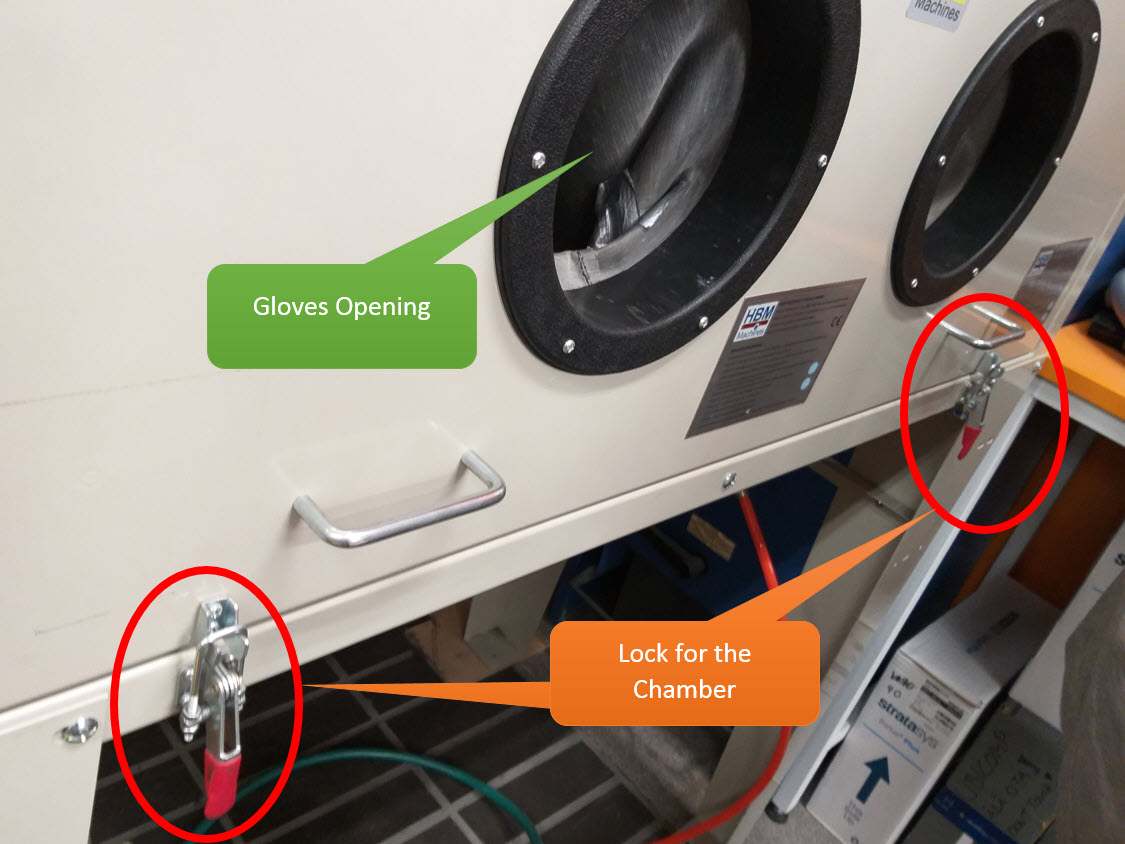
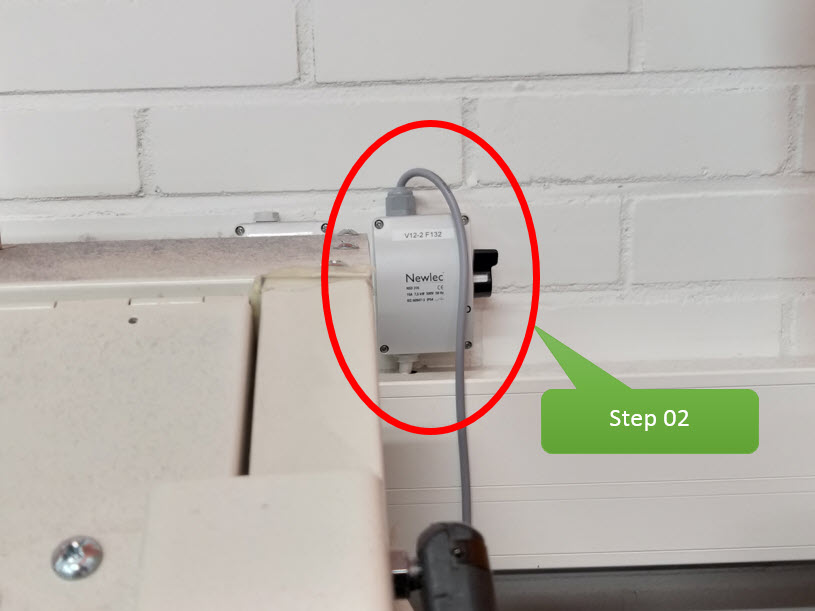
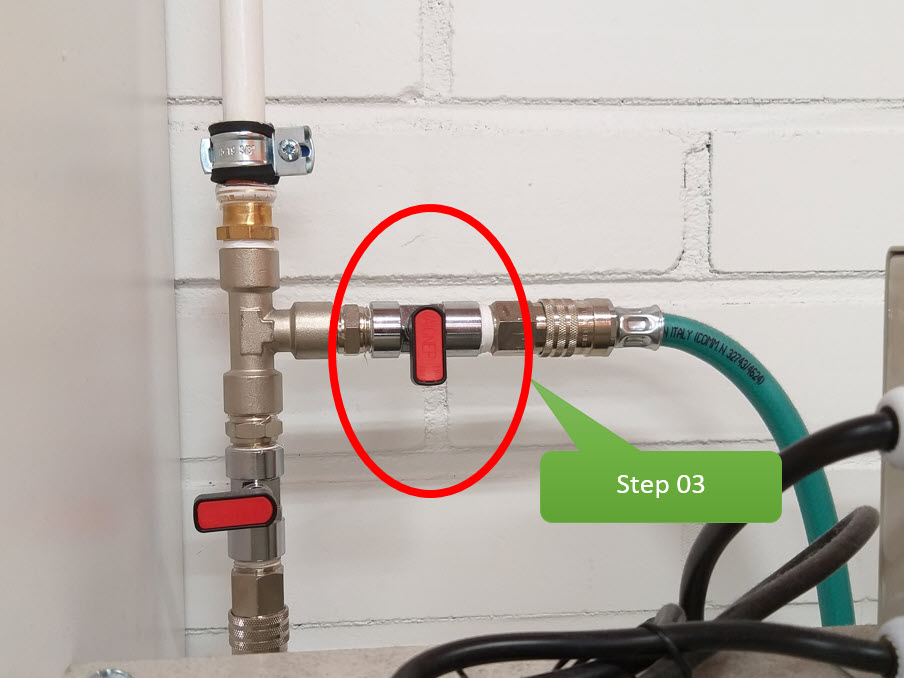
The Machine is easy to operate and its a 3 step procedure to operate the Machine:
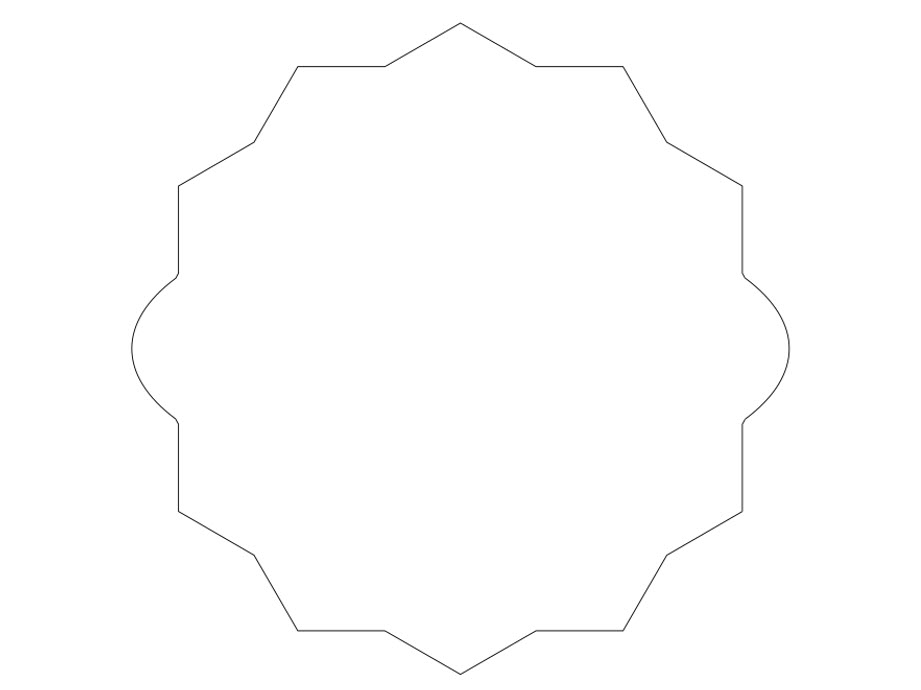
Material 01- Acrylic 3mm (Cutting, Vinyl Mask, Sandblasting) :
To Cut the Acrylic sheet 3 mm and create a Vinyl Mask, the process is described in detail Computer Controlled Cutting week. The Vinyl Mask will be used to paste on top of material to create a pattern for Sandblasting.
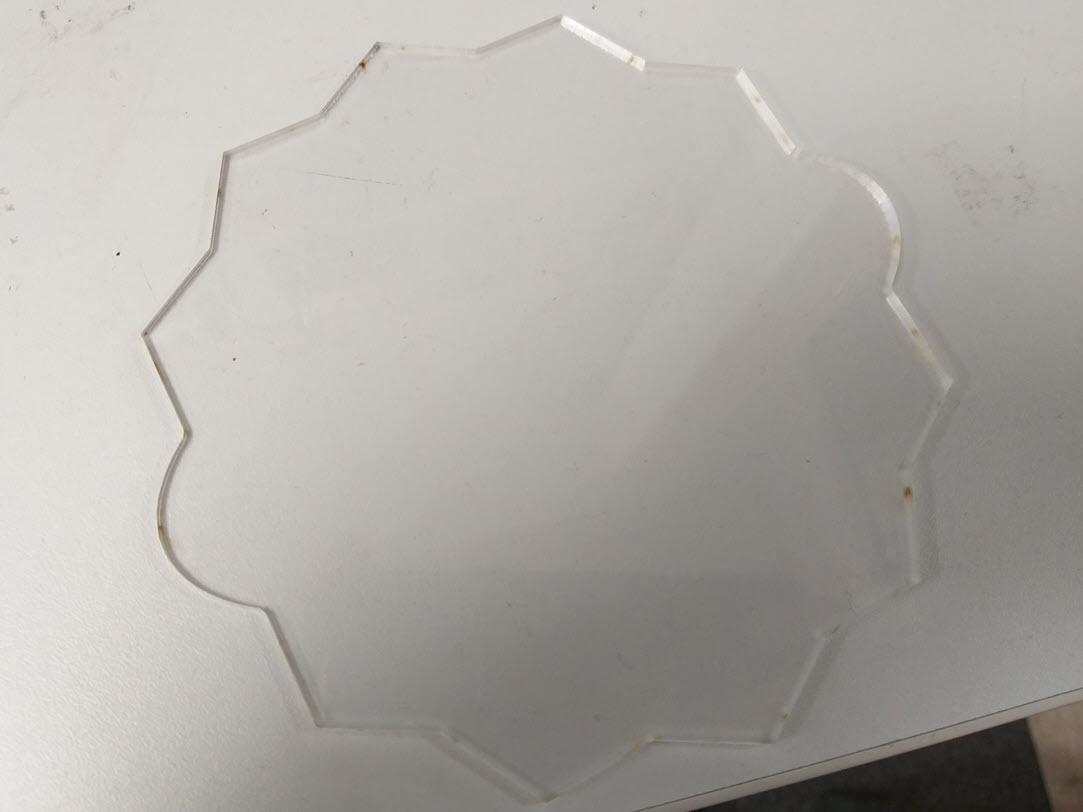
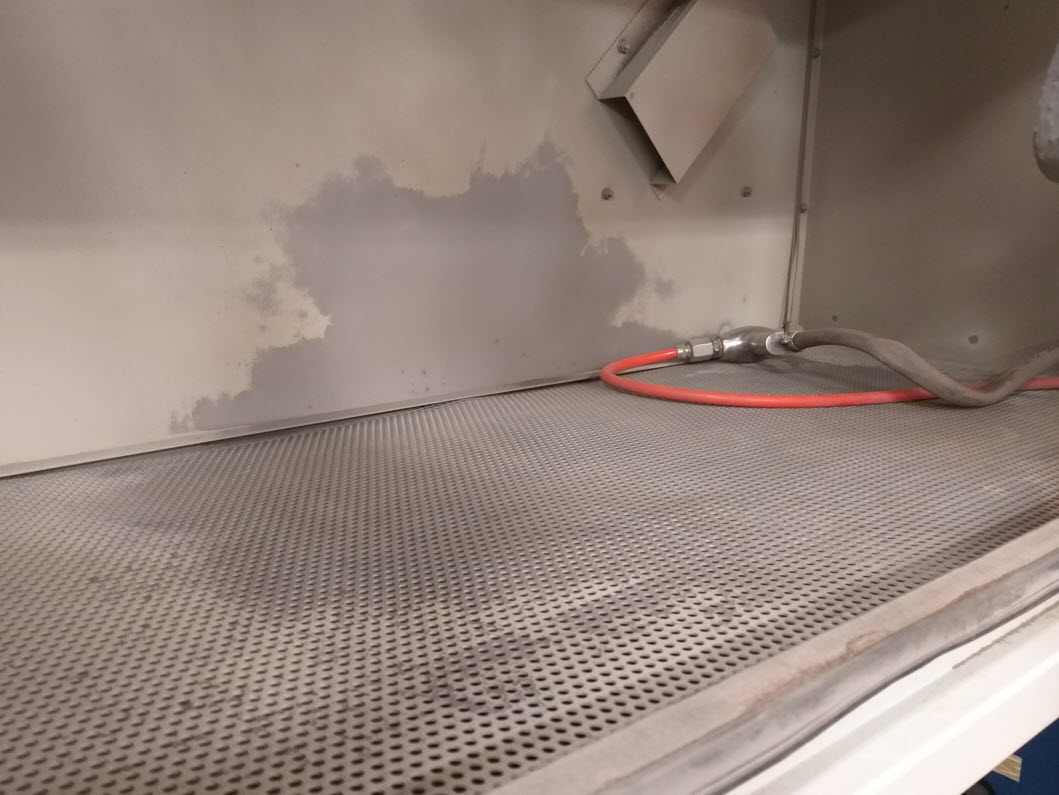
Sandblasting is easy and the steps mentioned earlier will be utilized to Sandblast, I placed the object inside the Sandblast Cabinet and followed the three steps. Now the Sandblast gun was ready to blast sand particles on the object. I put my hands inside the gloved, holded the acrylic material inside and pointed the gun at a distanc of 15 to 20cm. Care shall be taken while pointing the gun onto the object as vinyl mask may peel/come off if the gun is very close to the Material. There is a pedal under the machine which when pressed increases the pressure. I sandblasting for less than 1min, it depends the more time we take to sandblast, the more roughen the surface will become.
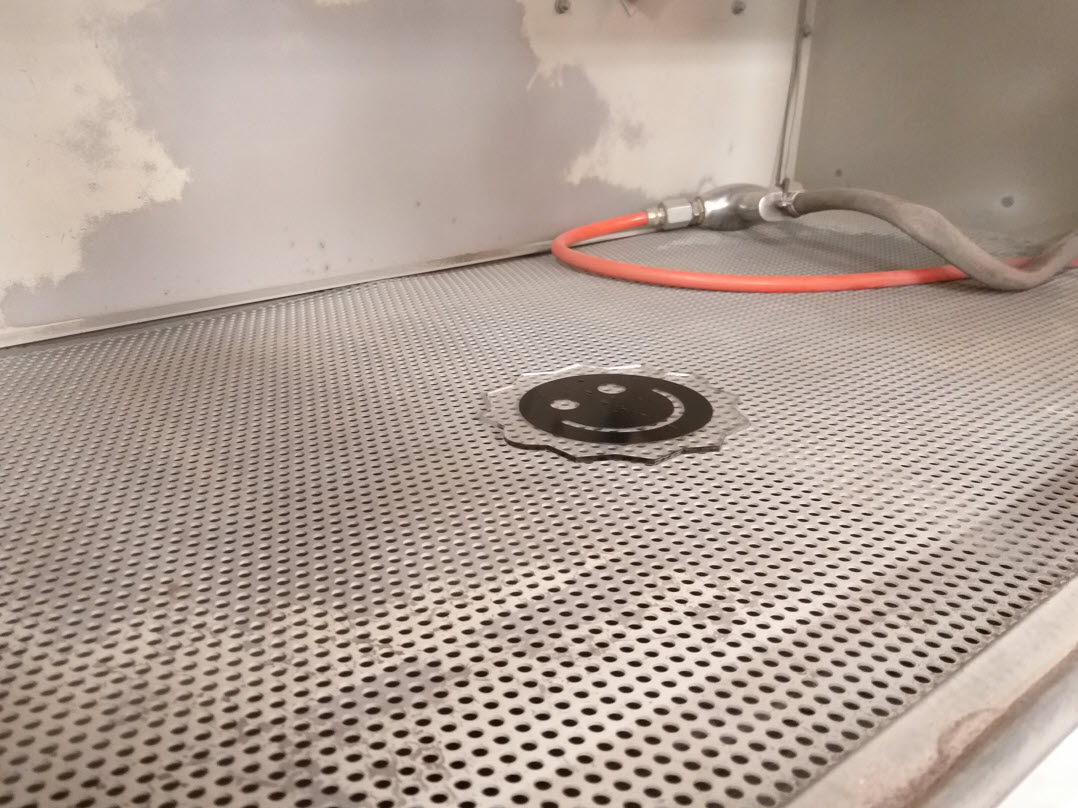

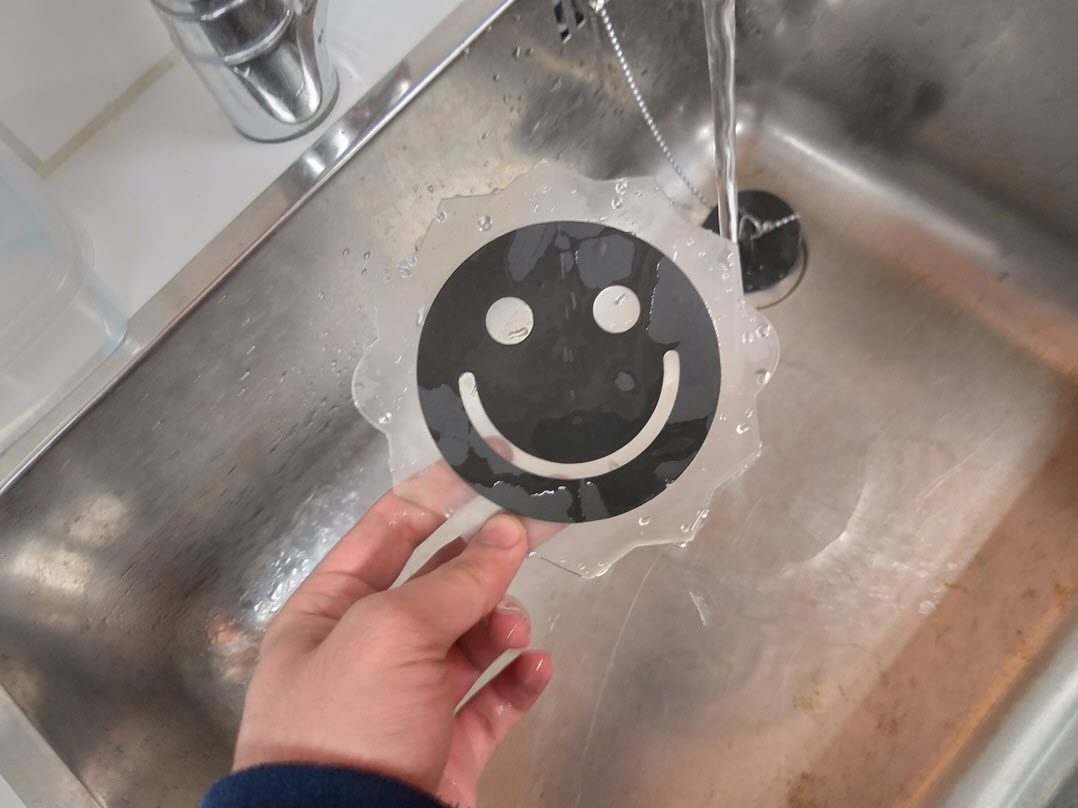
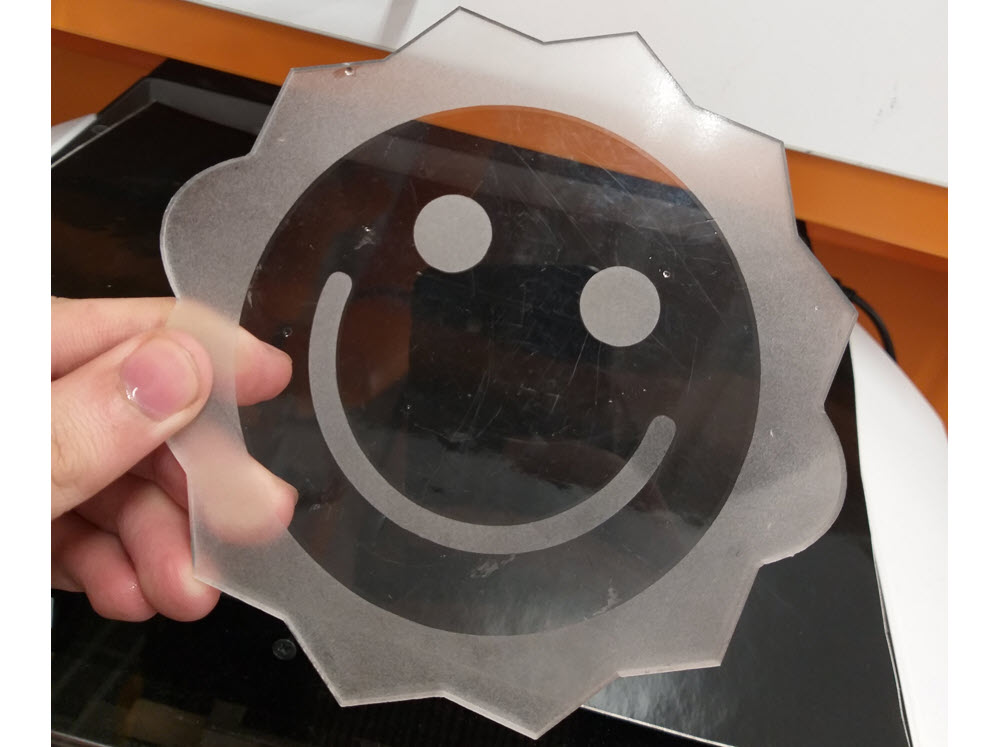
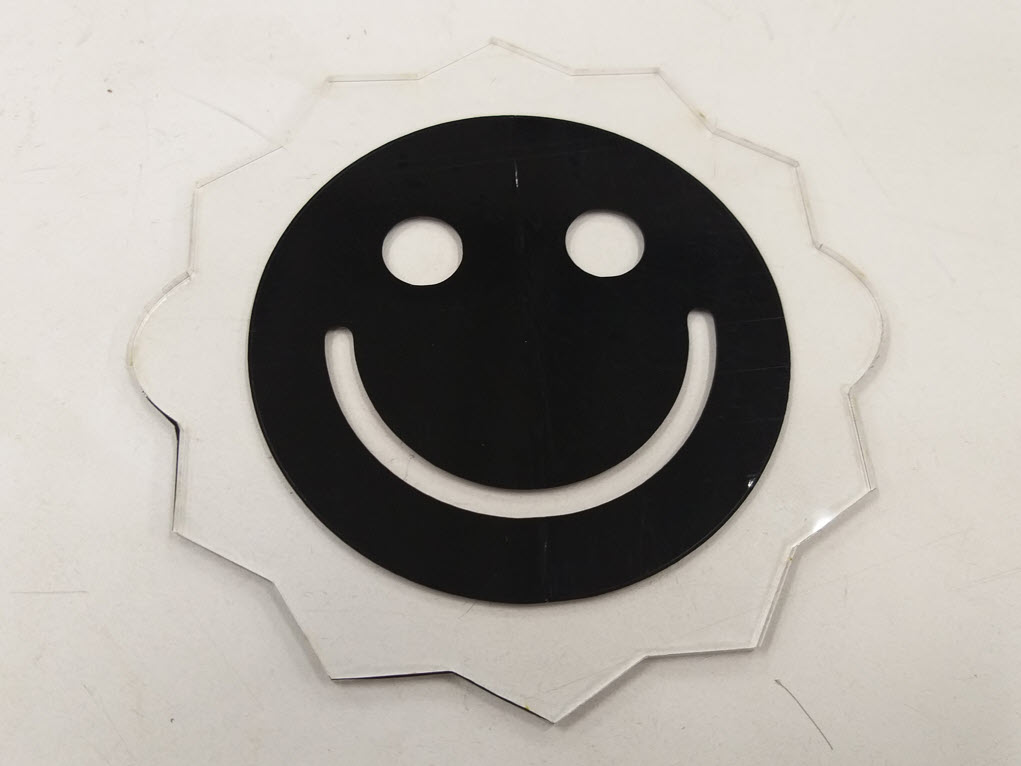
I sandblasted the material, After Sandblasting, I washed the material to remove the sand particles on top, then I removed the Viny Mask and the result came out to be pretty good with the Smiley face
Material 02- Metal 3mm (Cutting, Vinyl Mask, Sandblasting) :
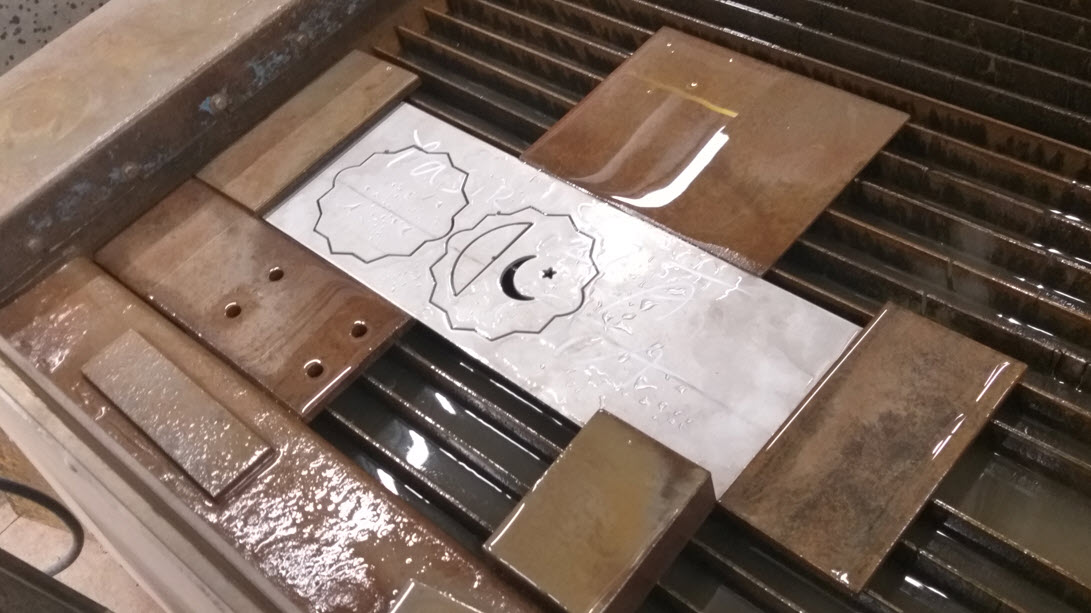
To cut the Metal into a beautiful design, I decided to use the Aliko Waterjet cutter. Water Jet cutting uses an ultra-high pressure stream of water to carry an abrasive grit. The high pressure water jet cutting machine allows to cut a wide range of materials with pure cold water or water mixed with abrasive for very hard materials. The accuracy and the power of the jet allows high precision cutting, even for complex shapes..

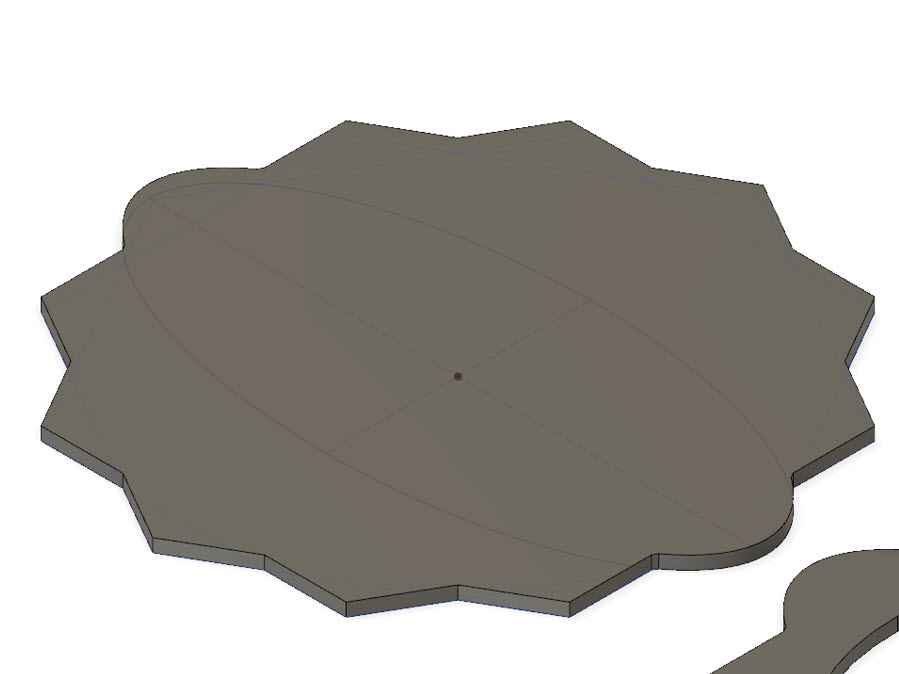
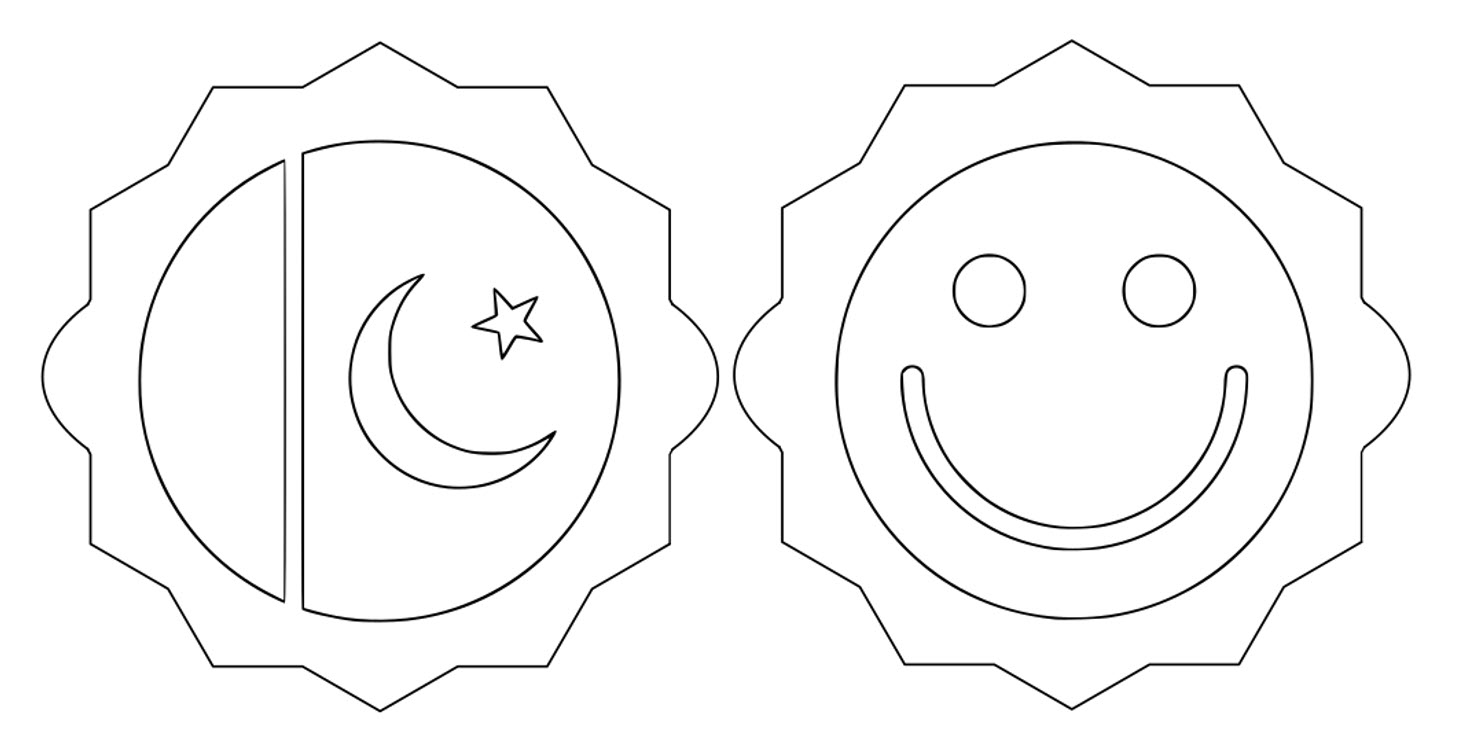
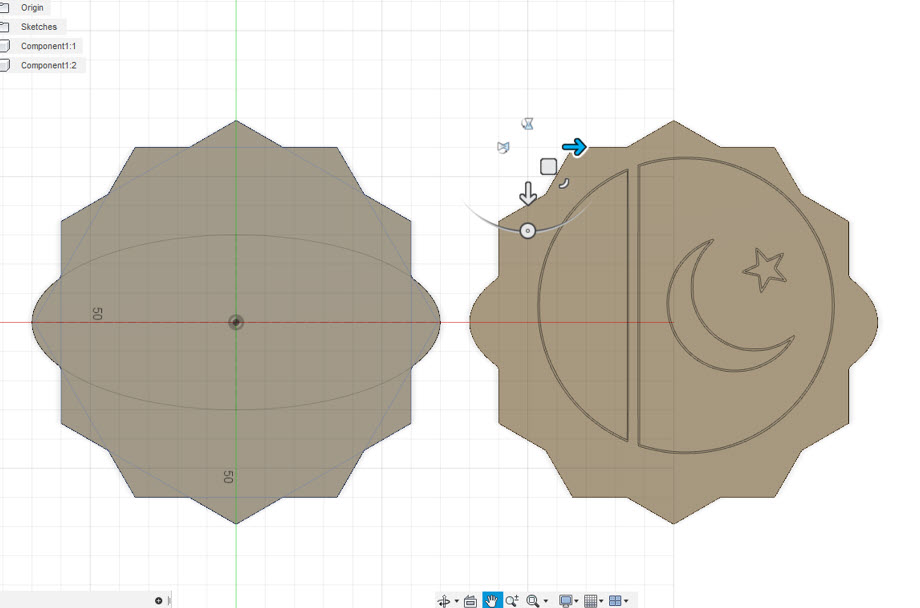
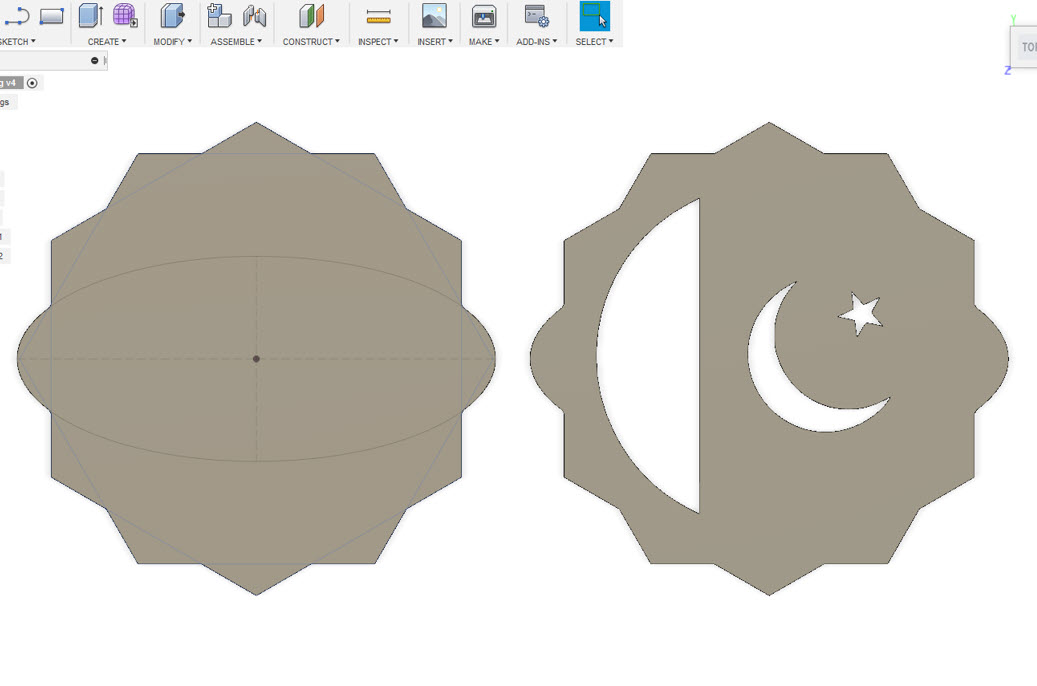
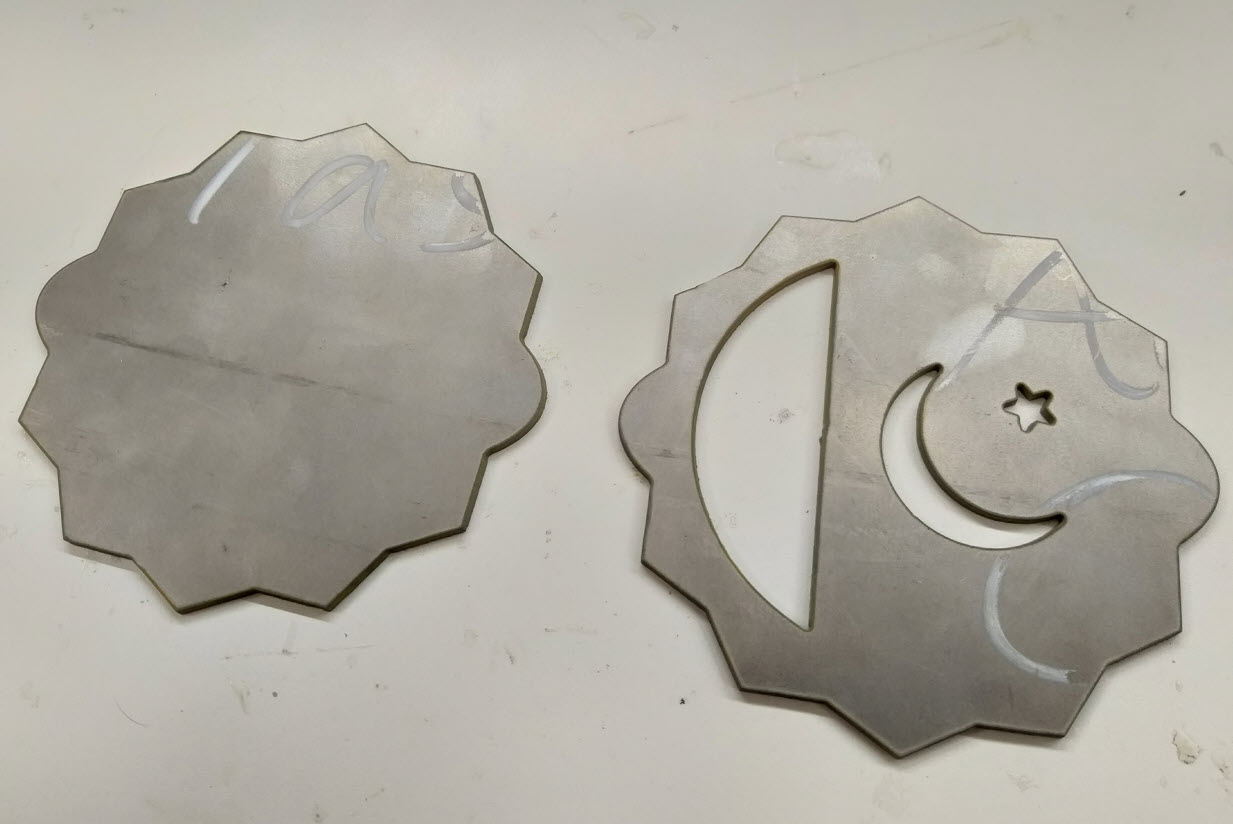
I created the design in Fusion 360, To know to more about Fusion 360 Computer Aided Design week will be good to learn about that. There is a nice guy in the Workship named Passi which operates the Waterjet and Laser cutting machine, he told me to bring the step file of the design to prepare for Laser cutting. There I created same pattern I used for Acrylic and I also added the Flag Badge of my country which has a moon and star in the design inorder to observed how the Waterjet cuts the design inside. To insert a picture in the design and to extrude it, I inserted the SVG file of the design in the Fusion 360 and then extruded the parts I required.

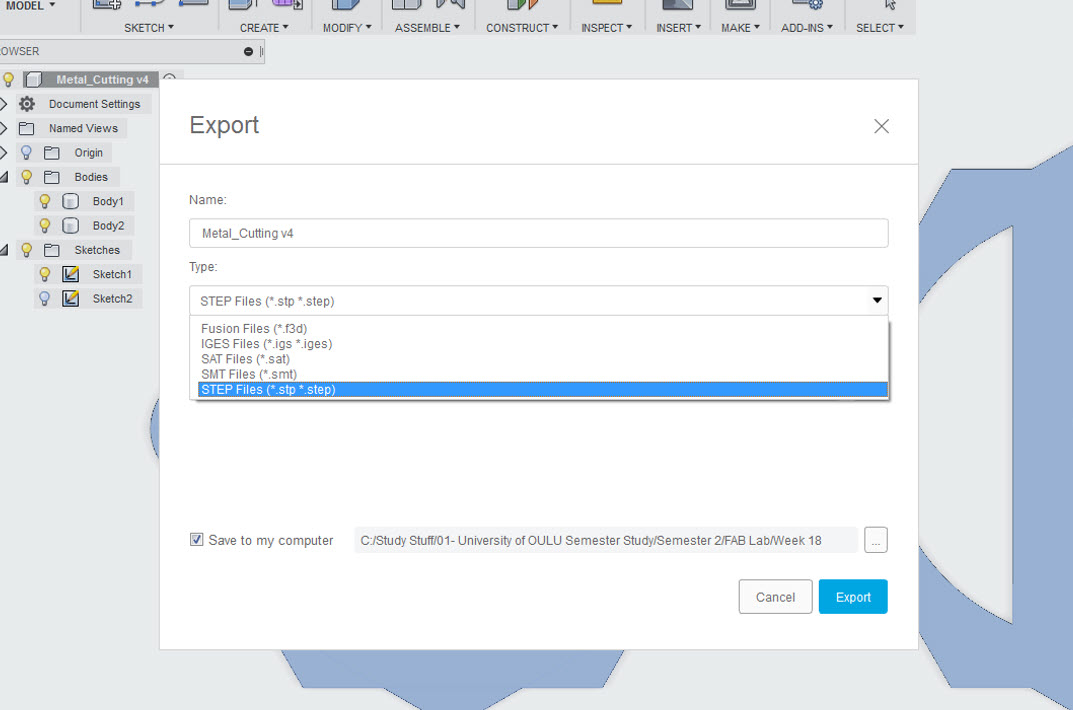
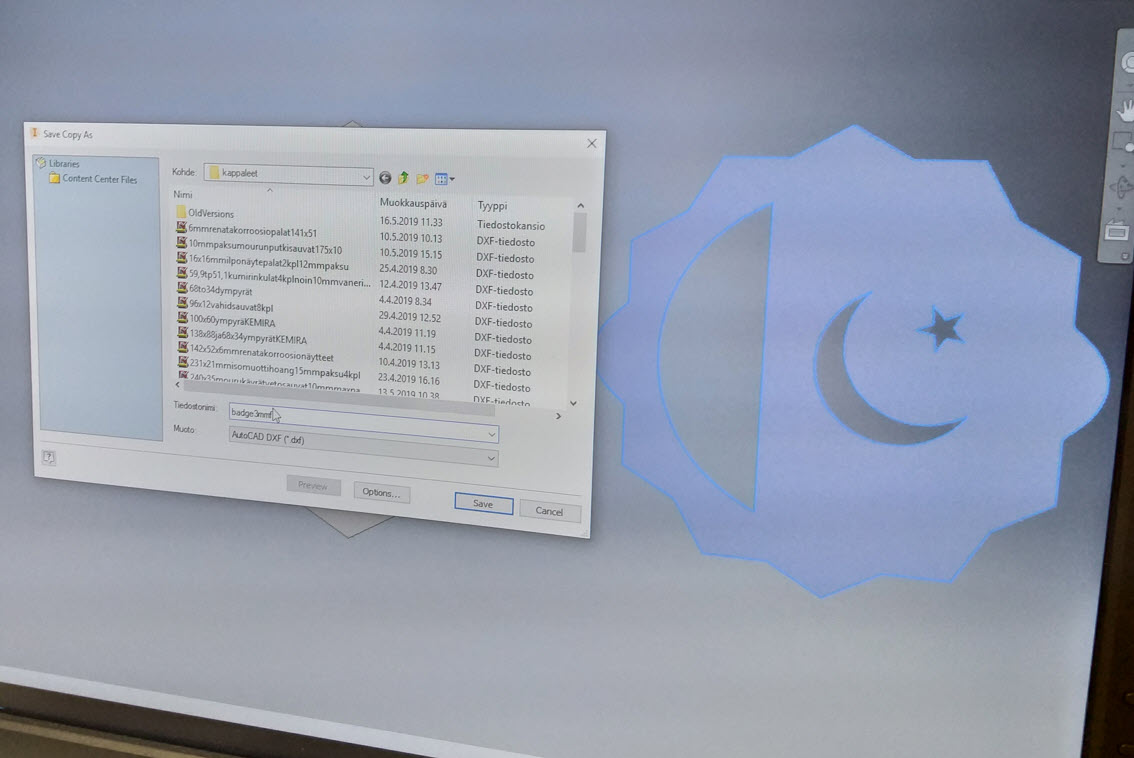
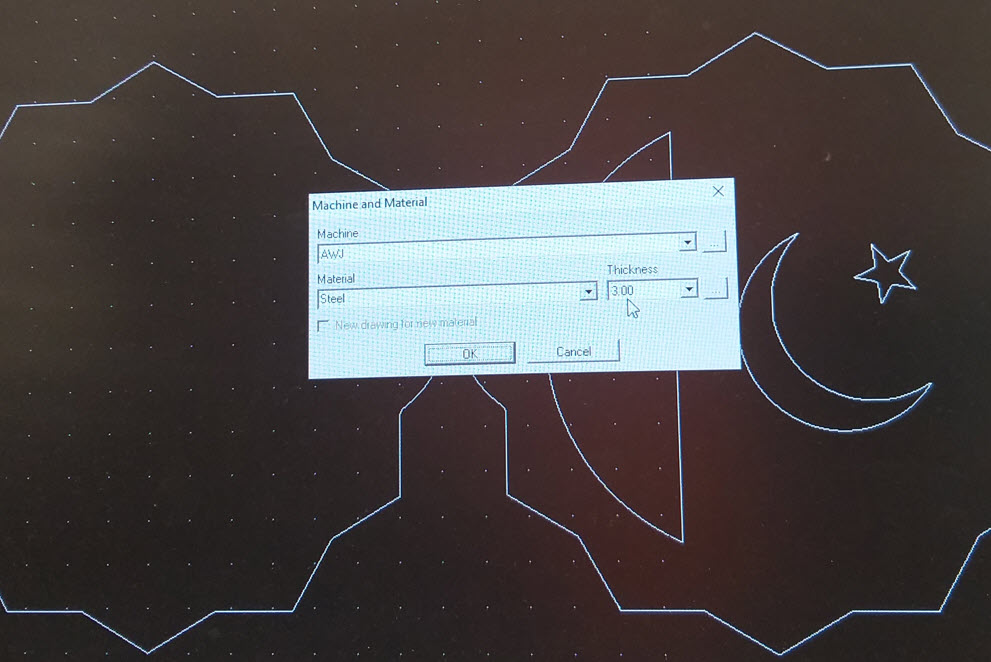
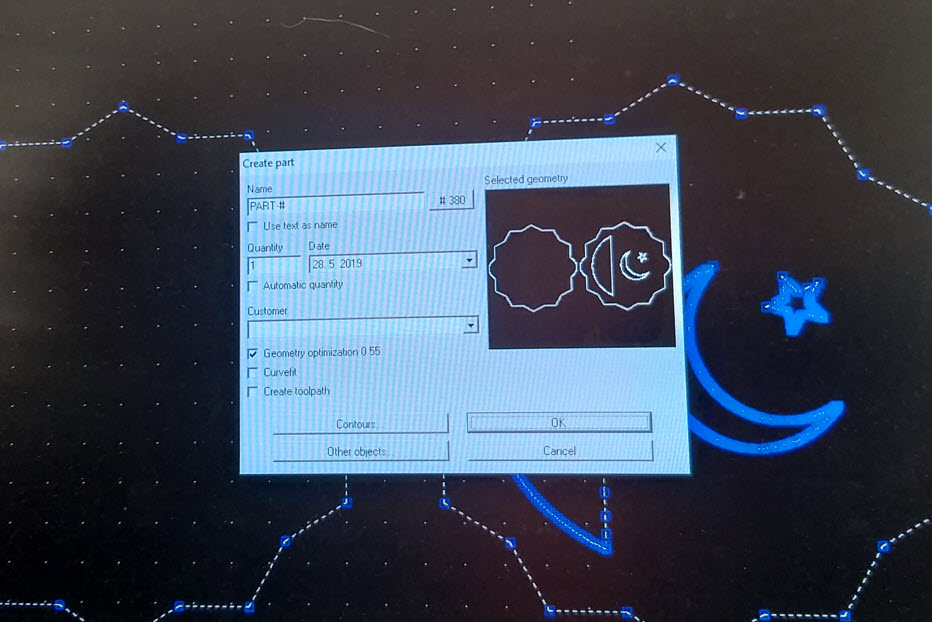
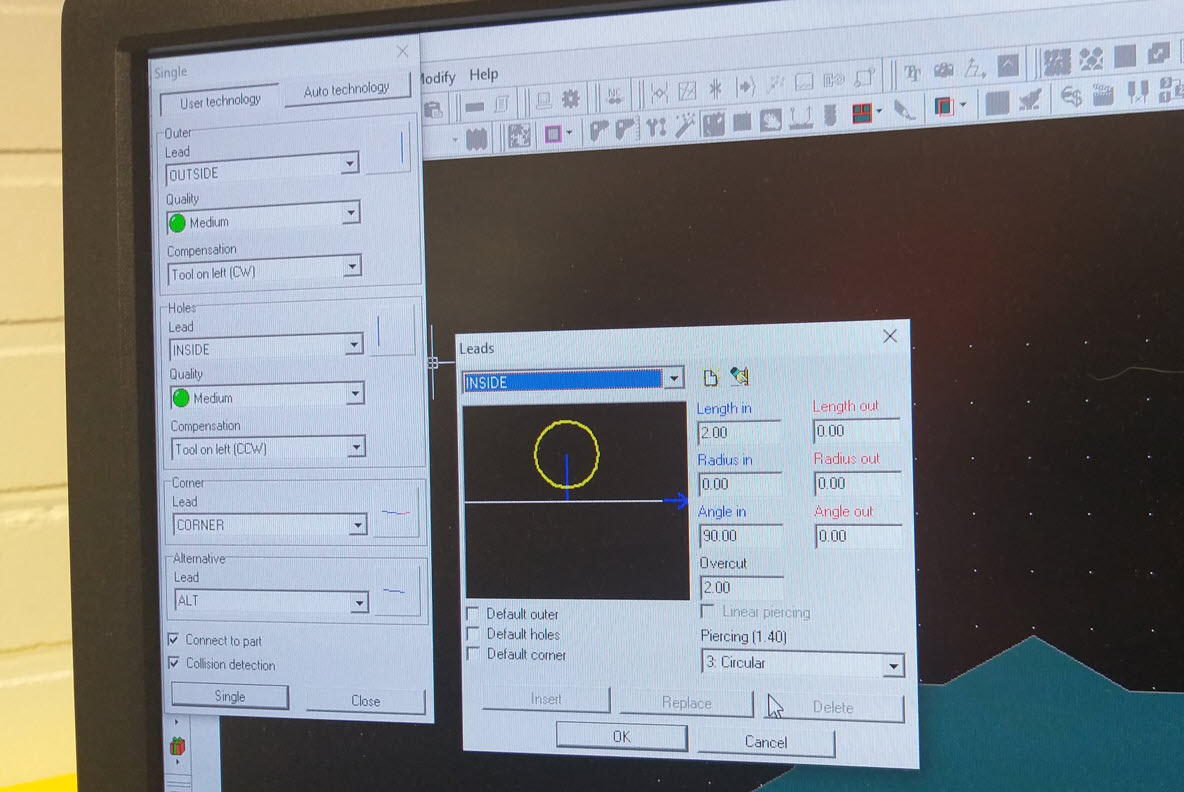
My design file was ready and I exported the STEP file as requested by Passi. In Autodesk Inventor 2019 he created an dxf file from the face of my part as .dxf file created in Fusion 360 doesn't work. After Creating the dxf file, the dxf file is opened in IGEMS Program. In IGEMS the toolpath, tool diameter, Material type and thickness is defined. The Material that I was using was Steel with 3mm of Thickness. After defining these, the file is being saved after post processing in DNC Format file which is then taken in USB and then inserted in the Machine Control Panel.
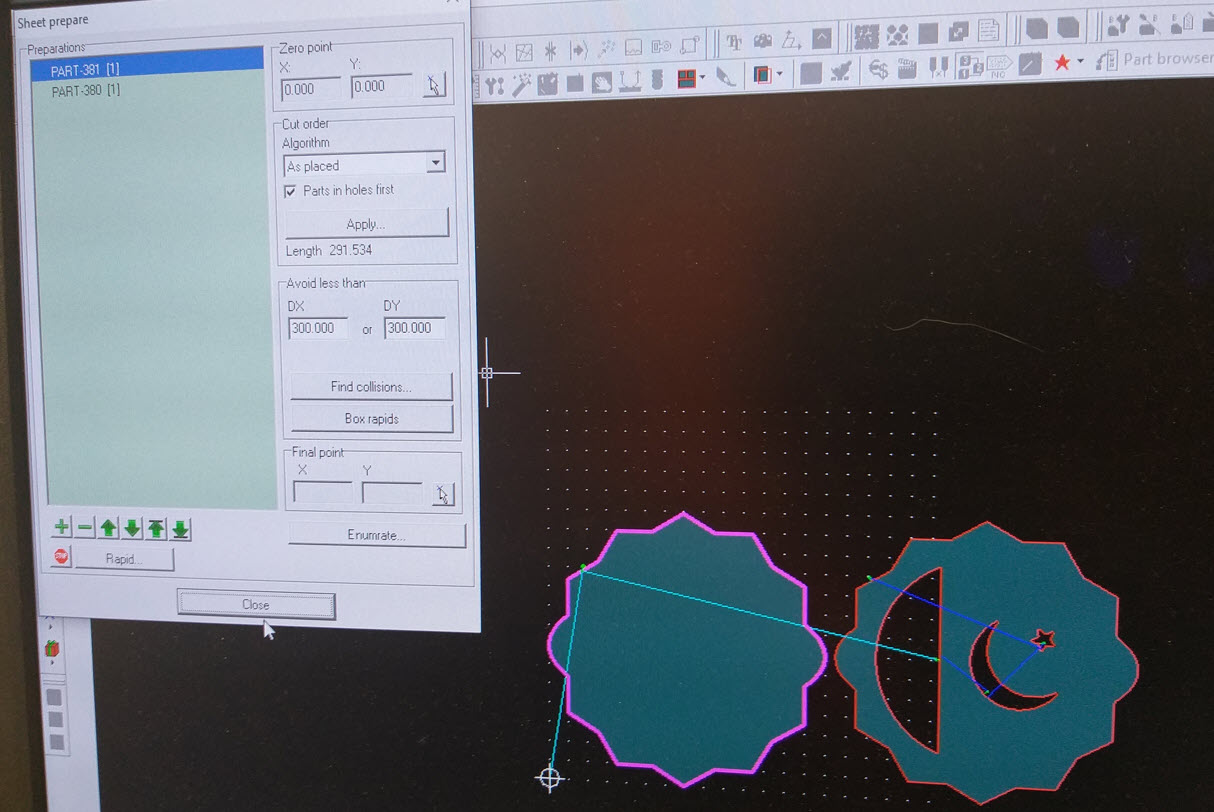
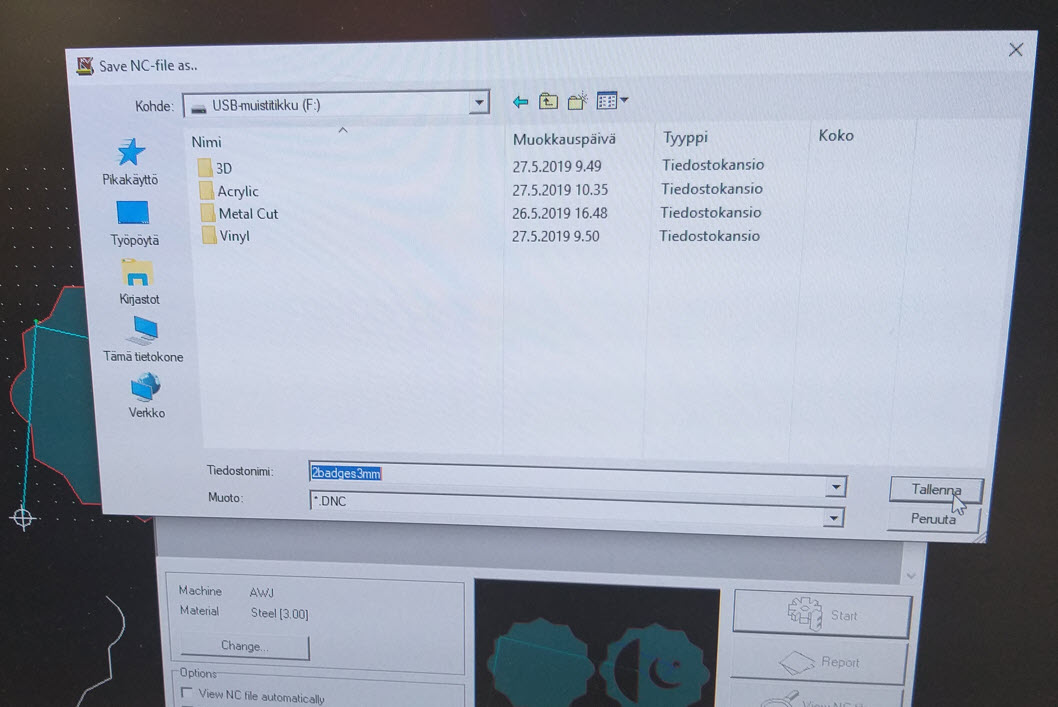
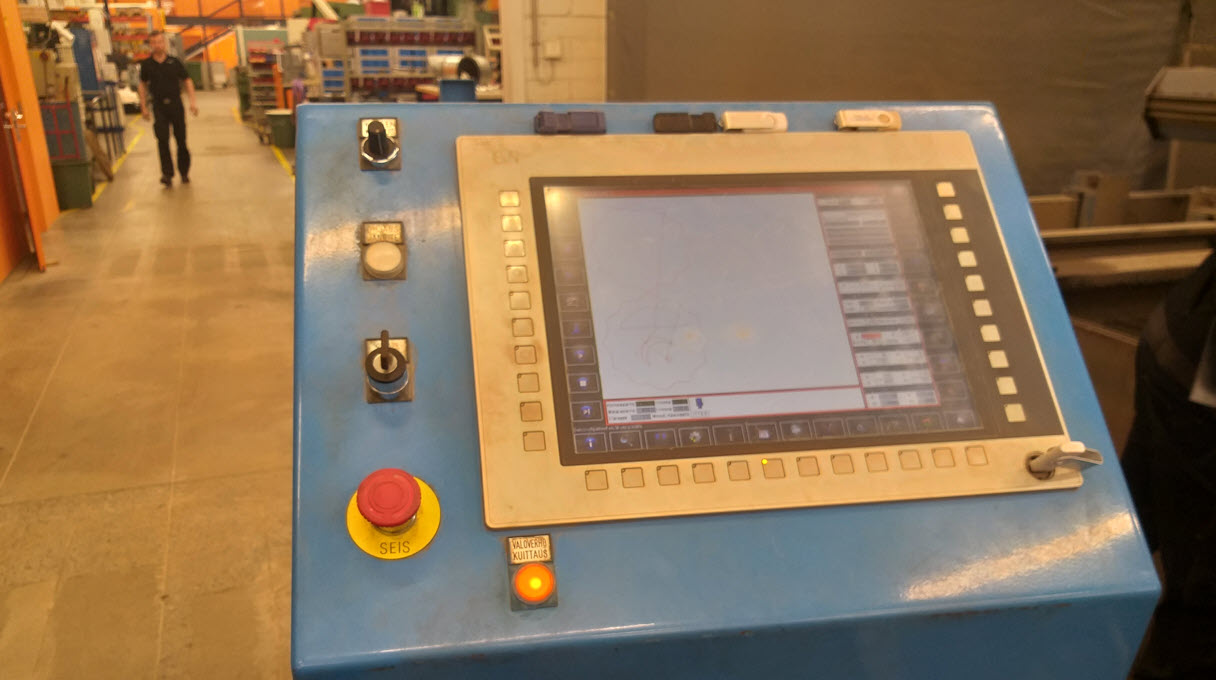
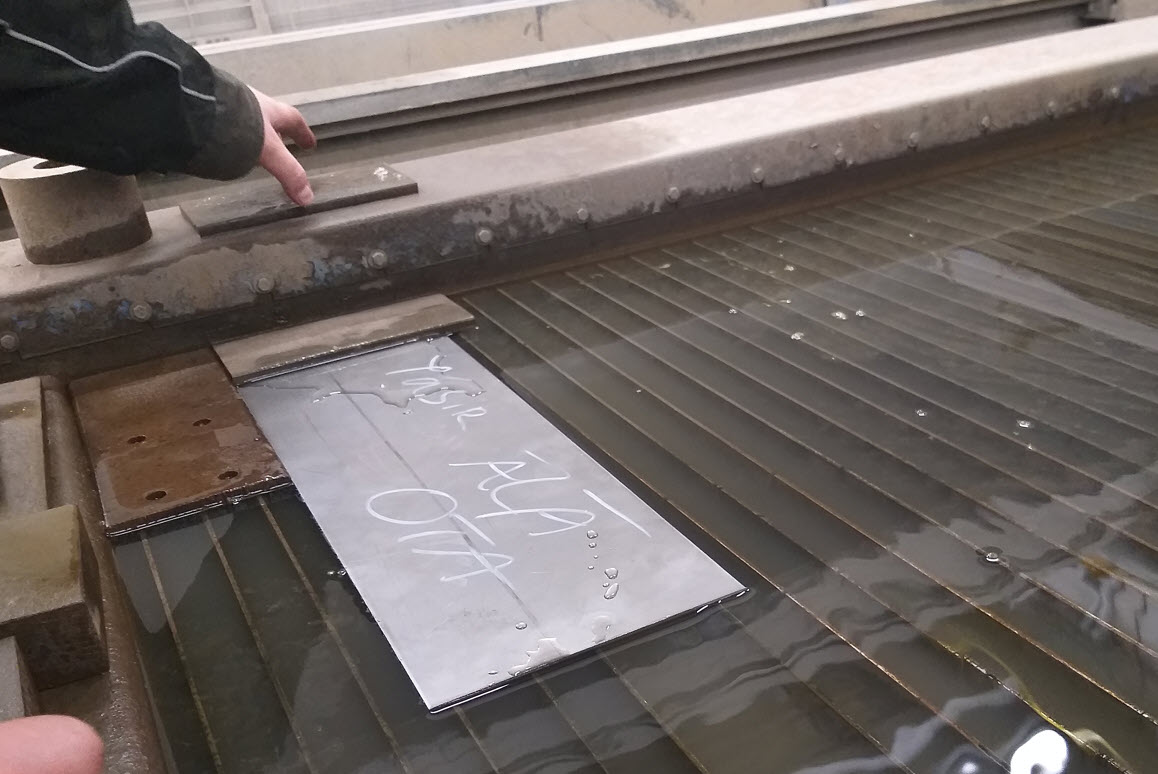
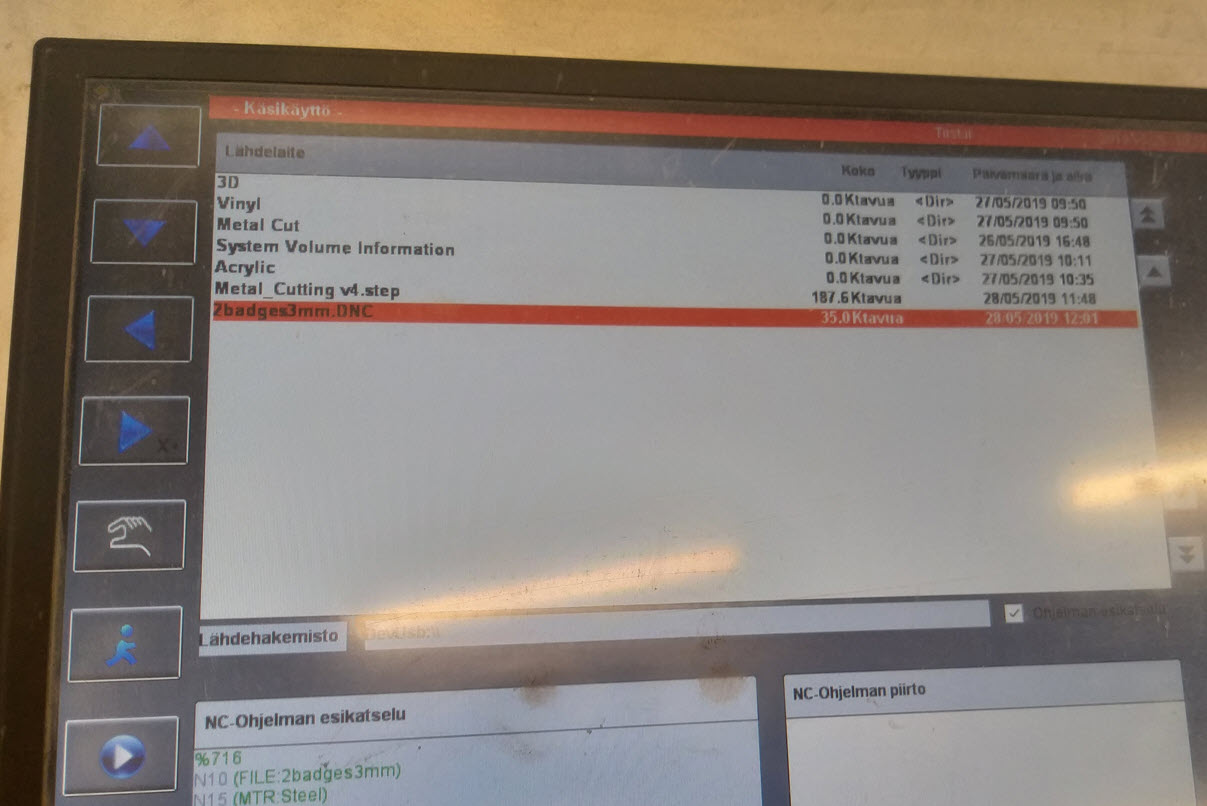
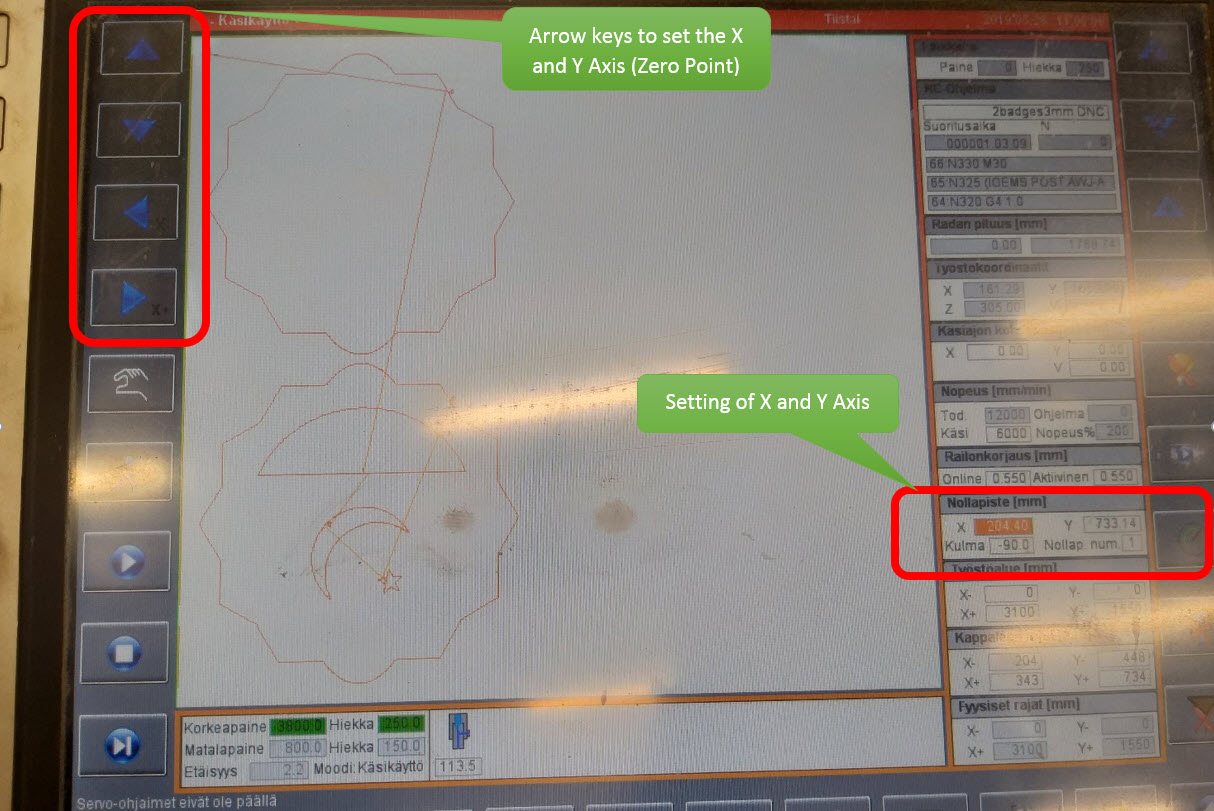
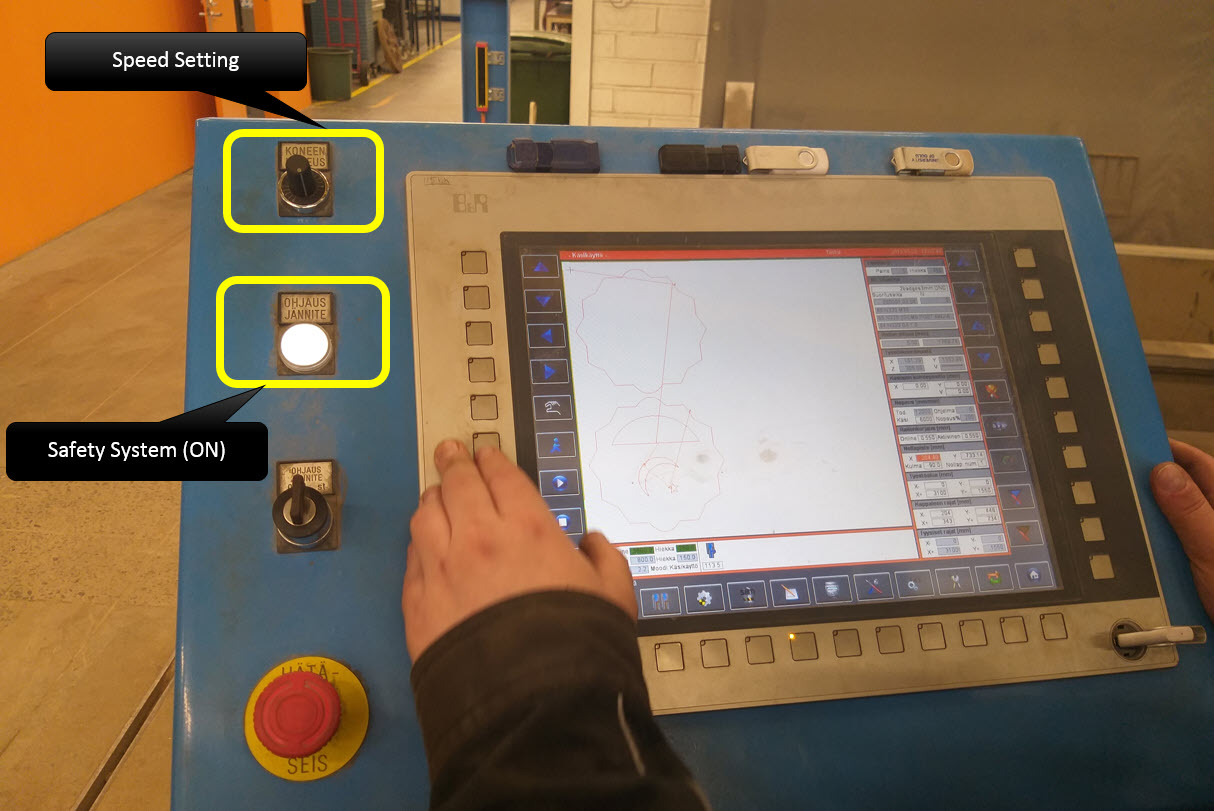
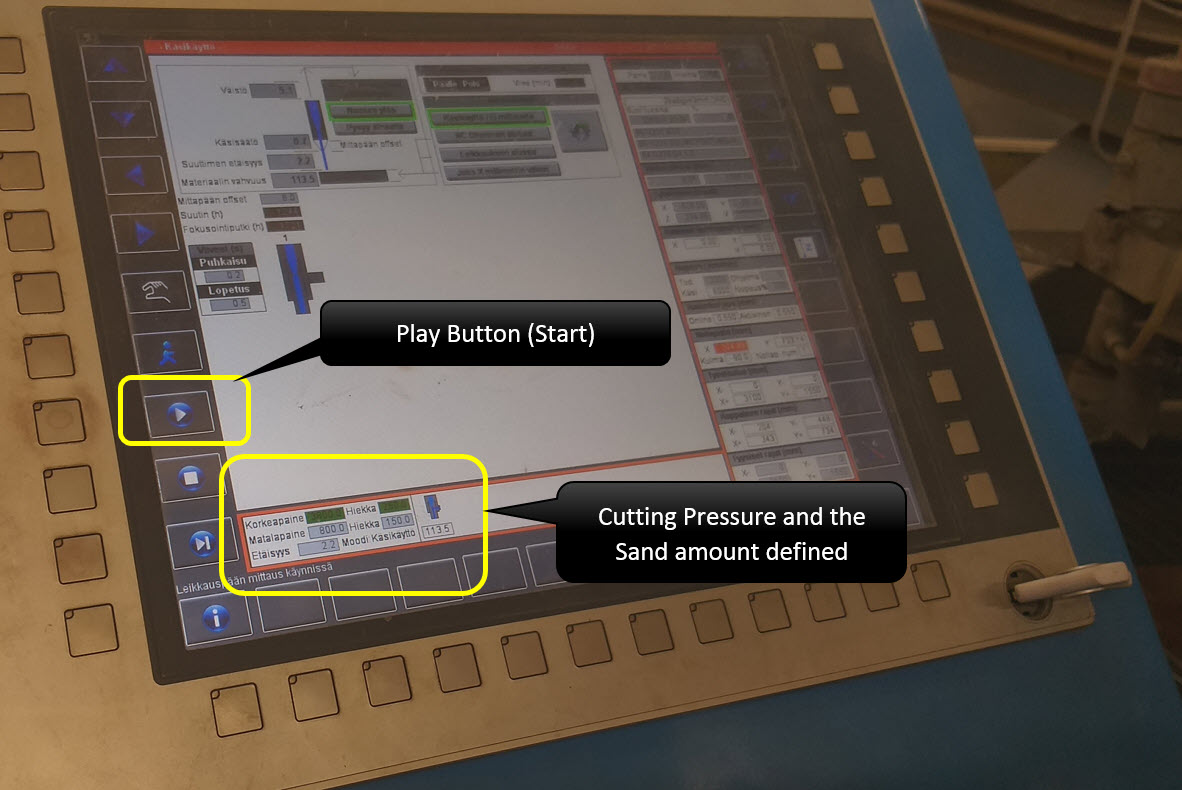
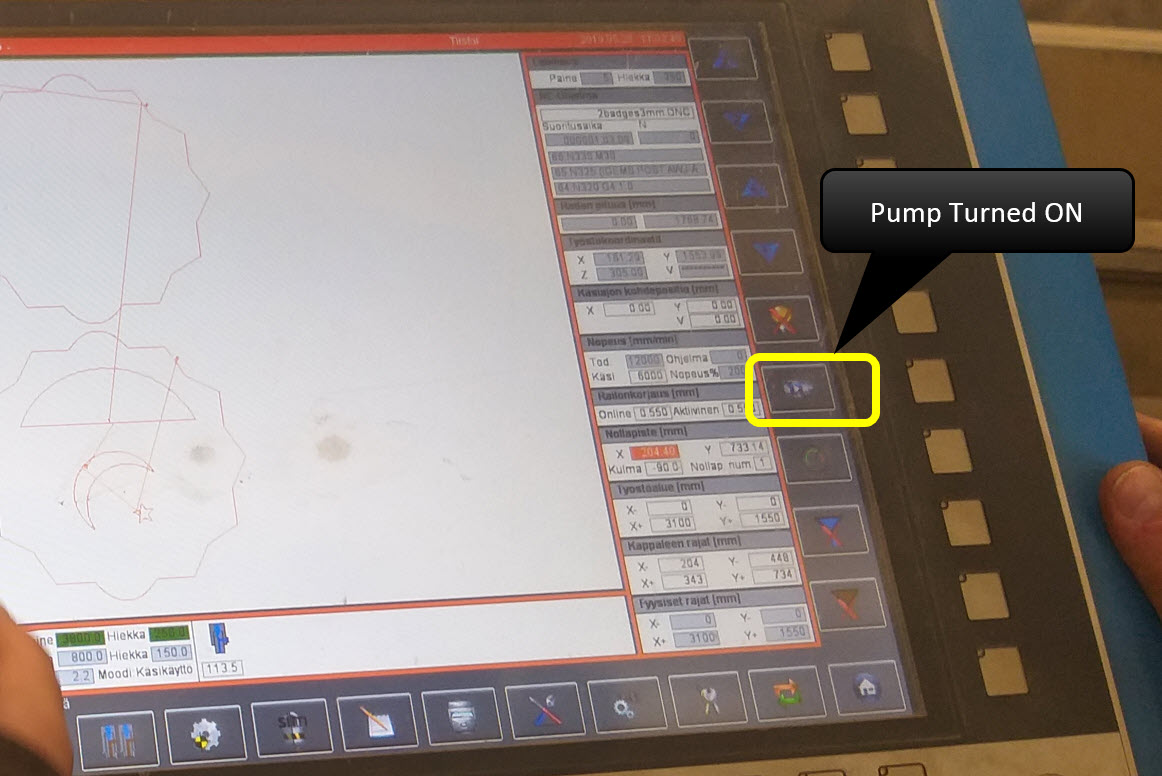
The Material and the DNC file was then taken to the machine Control Panel, The Steel Sheet was been placed on the Platform and the DNC file was opened on the Control Panel. The File was selected and opened. Arrow keys were being used to set the X and Y Axis (Zero Point). Speed Setting was done and the sefety was turned ON. The cutting pressing and sand amount was defined and the pump was turned ON. Now everything is ready thereby the Play Button (Start) was pressed and the machine began cutting.
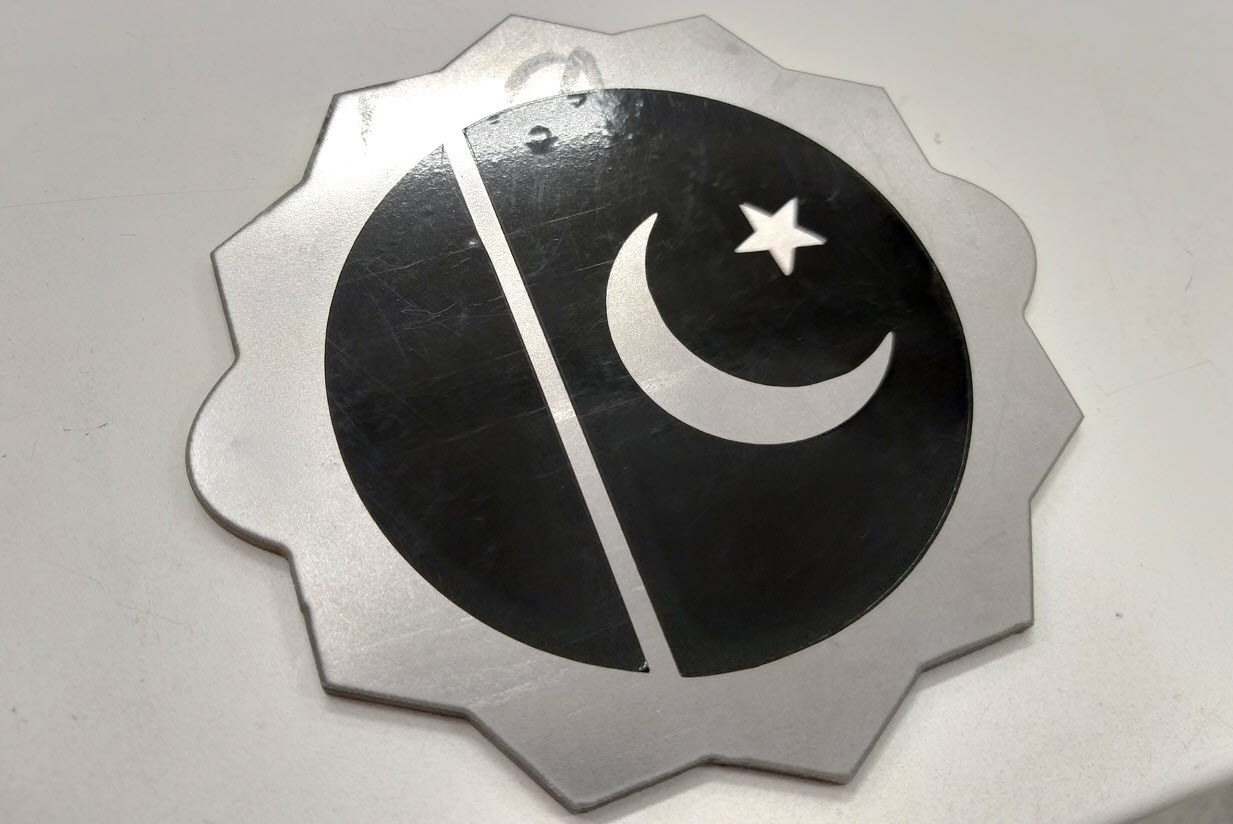
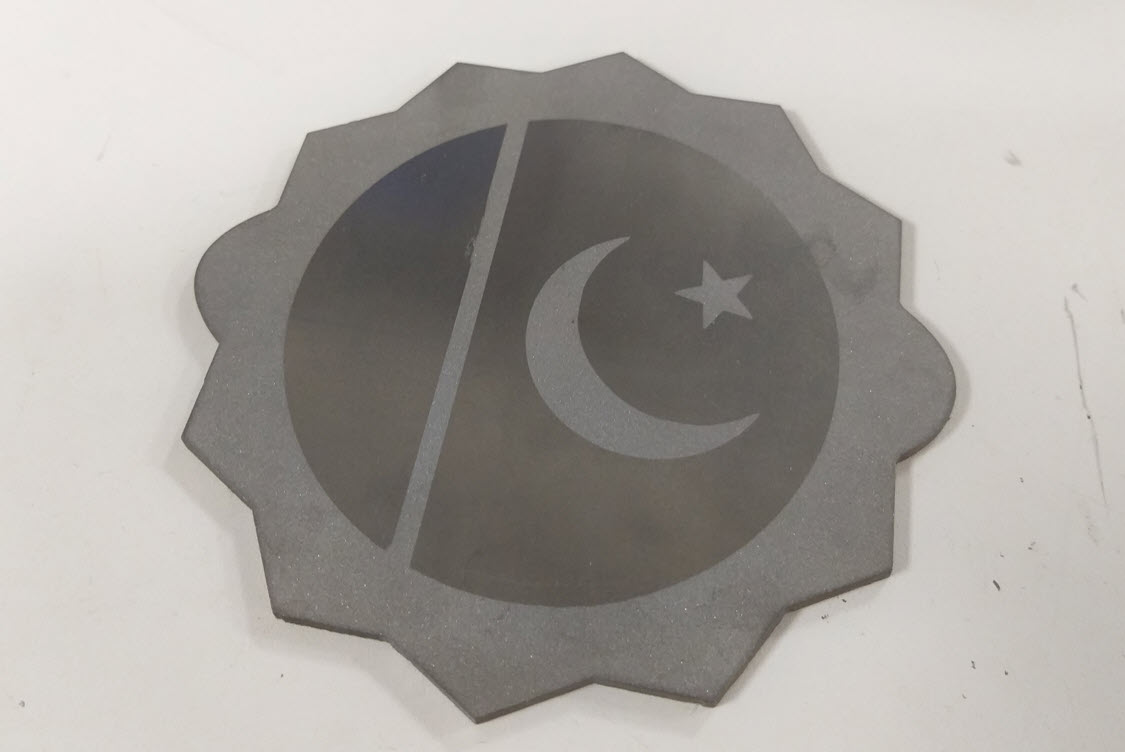
After the design was being cut, I used the same process as I did with acrylic, my plan was to sandblast the metal thereby I added the Vinyl Mask on top of the metal and Sandblasted it, The result came out to be good as seen in the pictures.
Summary :
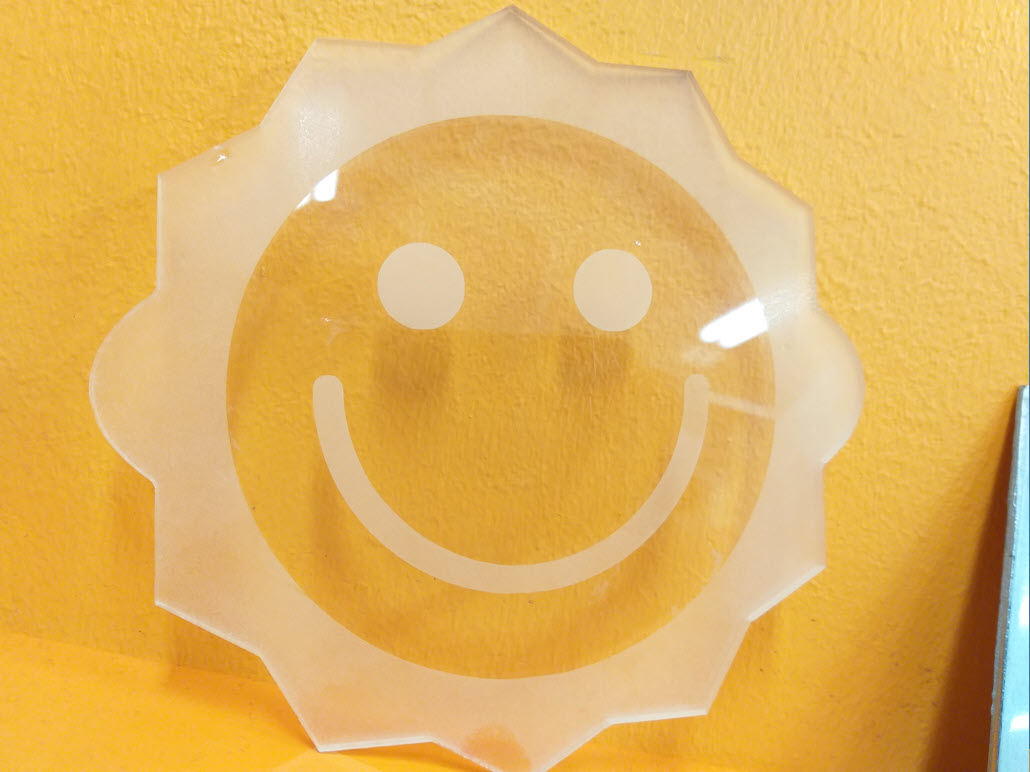
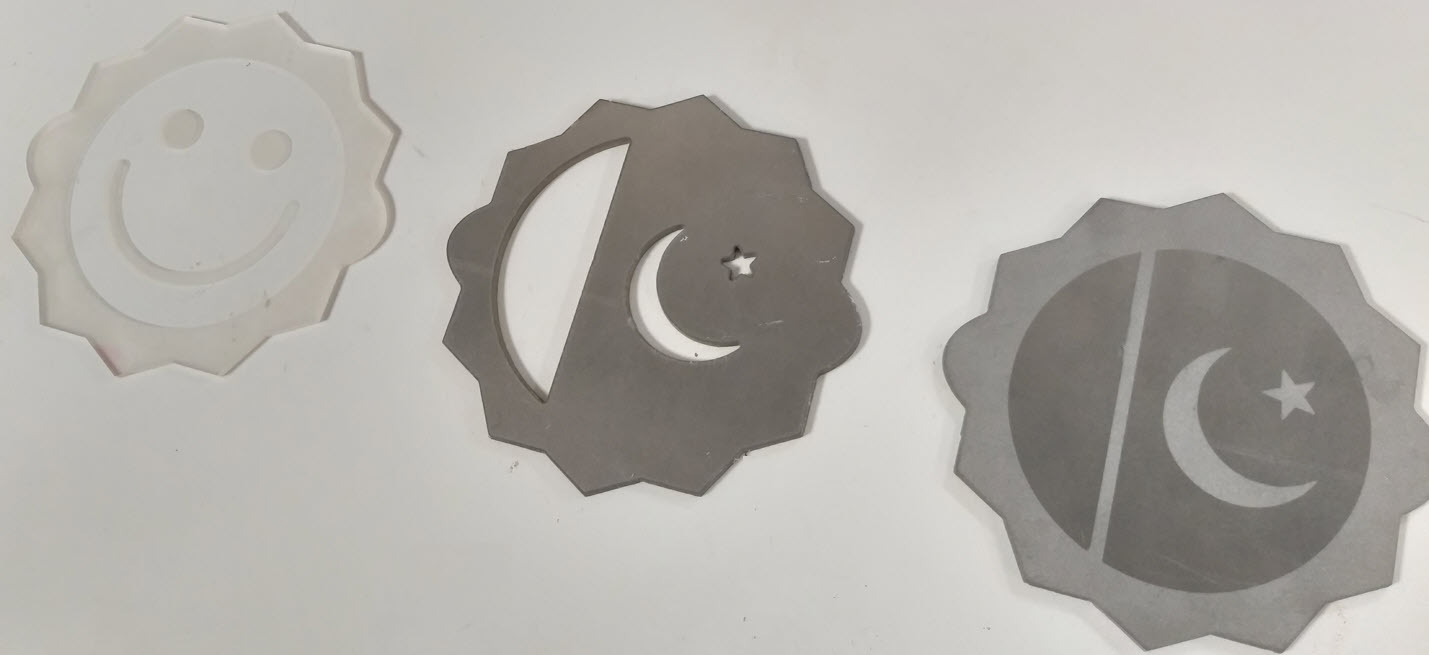
Below are the 3 designs for this week done by me. Left: Material 01- Metal 3mm (Cutting, Vinyl Mask, Sandblasting), Middle: (Material 02- Metal 3mm (Cutting), Right: Material 02- Metal 3mm (Cutting, Vinyl Mask, Sandblasting). It was a nice learning experience to learn different processing in this week that I never learned before.
Resources Utilized
- I utilized these resources for this task:
- Autodesk Fusion 360, for 3D Modelling
- Inkspace, for 2D Modelling
- IGEMS Program
- Autodesk Inventor 2019